
Lighting Attic Jobs: LED Work Lights for Insulation and Roofing Crews
Most of what I know about choosing an attic work light I learned the hard way, bent over a ceiling joist with sweat running into my eyes and a cheap clamp light pointing at everything except the spot I needed to see. I have run roofing crews long enough to remember when the attic kit was a trouble light with an incandescent bulb, a hundred feet of orange cord, and a prayer. That setup put a lot of boots through drywall ceilings, and it cost me more than one callback because someone missed a soft section of decking they simply could not see.
Things are better now. LED technology changed the attic work light from a hot, fragile bulb into something tough, cool running, and bright enough to actually light the space. But better gear does not automatically mean better results. I still see crews spend real money on lights and then use them in ways that leave half the attic in shadow. So this is my honest take, from the roofing side of the trade, on how to light attic jobs properly for both insulation work and roofing work.
Why an Attic Work Light Matters More Than You Think
Every attic fights you in three ways at once.
Framing Throws Shadows Everywhere
First, the geometry is terrible. You have rafters or trusses every 16 or 24 inches, and each one throws a shadow. A light that would fill an open room ends up casting a striped pattern of bright and dark across the floor. Webbing on trusses makes it worse, because every diagonal member blocks another slice of light.
Attic Surfaces Eat Light
Second, the surfaces eat light. Old fiberglass batts, gray cellulose, dark OSB sheathing, dusty framing. Very little of it reflects. In a finished room, light bounces off white walls and ceilings and fills in the corners. In an attic, most of the light that hits a surface just stops there.
The Floor Is Not Really a Floor
Third, you are working on a floor that is not a floor. Between the joists is nothing but drywall and insulation. If you cannot see the joist edge clearly, your next step is a guess, and a bad guess means a foot coming through someone’s living room ceiling. I have paid for that drywall patch more than once in my early years, and I can tell you the homeowner remembers it longer than anything else you did on the job.
Then add heat, dust, and tight access through a hatch that is barely wider than your shoulders. Every piece of gear you bring up has to fit through that hole, survive the conditions, and not become a hazard itself.
What the Rules Say About Attic Work Light Levels
A lot of guys assume there is no real standard for how bright a work area needs to be. There is one, at least on paper. OSHA’s construction standard 1926.56 requires construction areas, ramps, runways, corridors, offices, shops, and storage areas to be lit to listed minimum levels whenever work is going on, and its table sets 5 foot candles for general construction area lighting. We cover the broader picture in our guide to job site lighting requirements.
Foot Candles in Plain Terms
What is a foot candle? One foot candle equals one lumen per square foot. OSHA itself addressed how to check it. In a 1991 interpretation letter, the agency said illumination at a work surface is best measured with a light meter reading in lumens per square foot, which are equal to foot candles. A basic light meter app on a phone is not lab grade, but it will tell you quickly whether the far end of an attic is anywhere close to 5.
Five foot candles is a floor, not a target. It is enough to walk without tripping. It is not enough to read the print on a vent baffle, spot a hairline crack in a rafter, or see where a previous installer left a gap at the top plate.
Rules for the Attic Work Light Itself
There are also rules about the lights. Temporary lights must have guards or be recessed so nobody contacts the bulb, they need heavy duty cords, they must not be suspended by their electric cords, and splices must match the cable’s insulation. The same guidance says workers must not enter dark spaces without a suitable portable light. That last line describes almost every attic I have ever climbed into.
One more point matters for damp attics or anywhere you might be touching metal ductwork. OSHA has stated that portable lighting under 1926.405(a)(2)(ii)(G) is treated as battery operated equipment limited to 12 volts. In practice, for wet or conductive spots, low voltage battery lights are the safer choice over plug in units.
A Note on Where the Standard Stands
I will add a note of honesty here. In July 2025, OSHA proposed rescinding the construction illumination standards in 1926.26 and 1926.56, arguing the hazard is obvious and better handled under the General Duty Clause. Check the current status before you quote the rule to anyone. Either way, my position does not change. If the attic is too dark to see the joists, it is too dark to work, standard or no standard.
Sizing an Attic Work Light: How Much Light You Really Need
Here is how I think about sizing an attic work light setup, and it is simpler than the spec sheets make it look. For the full math, see our guide to work light lumens.
Take an average ranch house attic, say 30 by 40 feet. That is 1,200 square feet. To hit 5 foot candles across all of it, in a perfect world you would need about 6,000 lumens actually landing on the surfaces. But attics are far from perfect. Light falls off fast with distance, framing blocks a big share of it, and dark insulation absorbs most of what lands. In my experience you need two or three times the theoretical number, spread across multiple positions, to get usable light everywhere you are working.
Light the Zone, Not the Whole Attic
That does not mean you need to light the whole attic at once. You need to light the zone you are in, plus a path back to the hatch. One HVAC supply guide recommends at least 1,000 lumens from a portable area light for general attic and crawlspace illumination, with a headlamp or flashlight of at least 300 lumens on a tight beam for focused task work. I agree with that as a starting point for a single tech, and it lines up with what we recommend in our guide to the LED work light for HVAC technicians. For a crew of three or four moving through an attic, I go higher, usually an area light in the 3,000 to 5,000 lumen range for the main working zone.
Attic Work Light Placement Beats Raw Output
Placement matters more than lumens. One 5,000 lumen light sitting at the hatch will blind anyone looking back toward it and leave the eaves dark. Two 2,500 lumen lights, one mounted high near the ridge and one positioned toward the eave you are working, will beat it every time. Light from above, aimed down between the rafters, cuts the striped shadow problem because the beam travels parallel to the framing instead of across it.
Heat Changes Everything About Attic Lighting
Anyone who has worked a summer attic knows this already. A Pittsburgh roofing company owner told CBS News it could be 150 degrees inside an attic, with the roof itself at least 15 degrees warmer. I have read similar numbers on my own thermometer more times than I want to remember.
Your Attic Work Light Is Part of Your Heat Plan
The first concern is the crew. A dim attic slows people down, and slower work means more minutes in the heat. A good attic work light is not a luxury on a July afternoon. It shortens the time each person spends up there. NIOSH recommends using a buddy system so workers watch each other for signs of heat illness, and gradually increasing time in hot conditions over 7 to 14 days. You cannot watch your partner’s face for confusion or pallor if you can barely see him. Light is part of your heat plan whether you think of it that way or not.
Protecting the Gear From Heat
The second concern is the equipment. LEDs run far cooler than the old halogen lamps, but the electronics and batteries inside them do not love heat. Lithium packs lose runtime and age faster when they cook, as we explain in our guide to LED work light battery life. I keep spare batteries in a cooler in the truck and swap them out instead of leaving them charging in a 140 degree attic. I also never let a light rest face down in loose fill insulation. Even a cool running LED has a driver board and a battery pack that need to shed heat, and burying it in cellulose is asking for a failure.
Heat also argues for working early. We start attic jobs at first light whenever we can. A good set of lights means the crew is not waiting for the sun to come up to get productive in a space where the sun never reaches anyway.
The Attic Work Light Kit I Send Up the Ladder
After a lot of trial and error, my crews carry a three layer setup. It is not fancy, but it covers almost every attic we see.
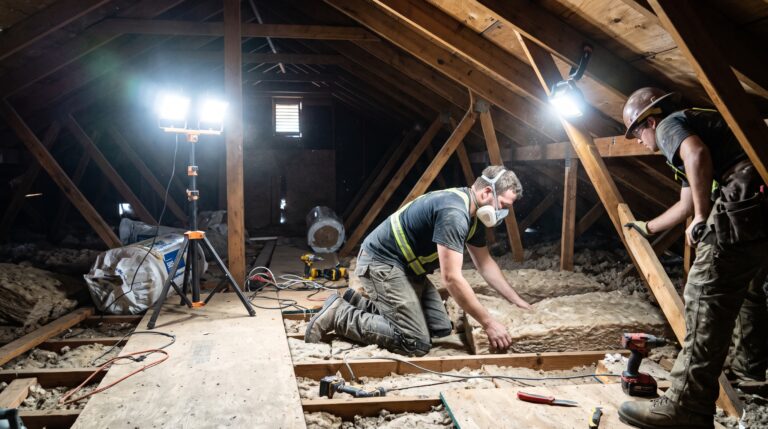
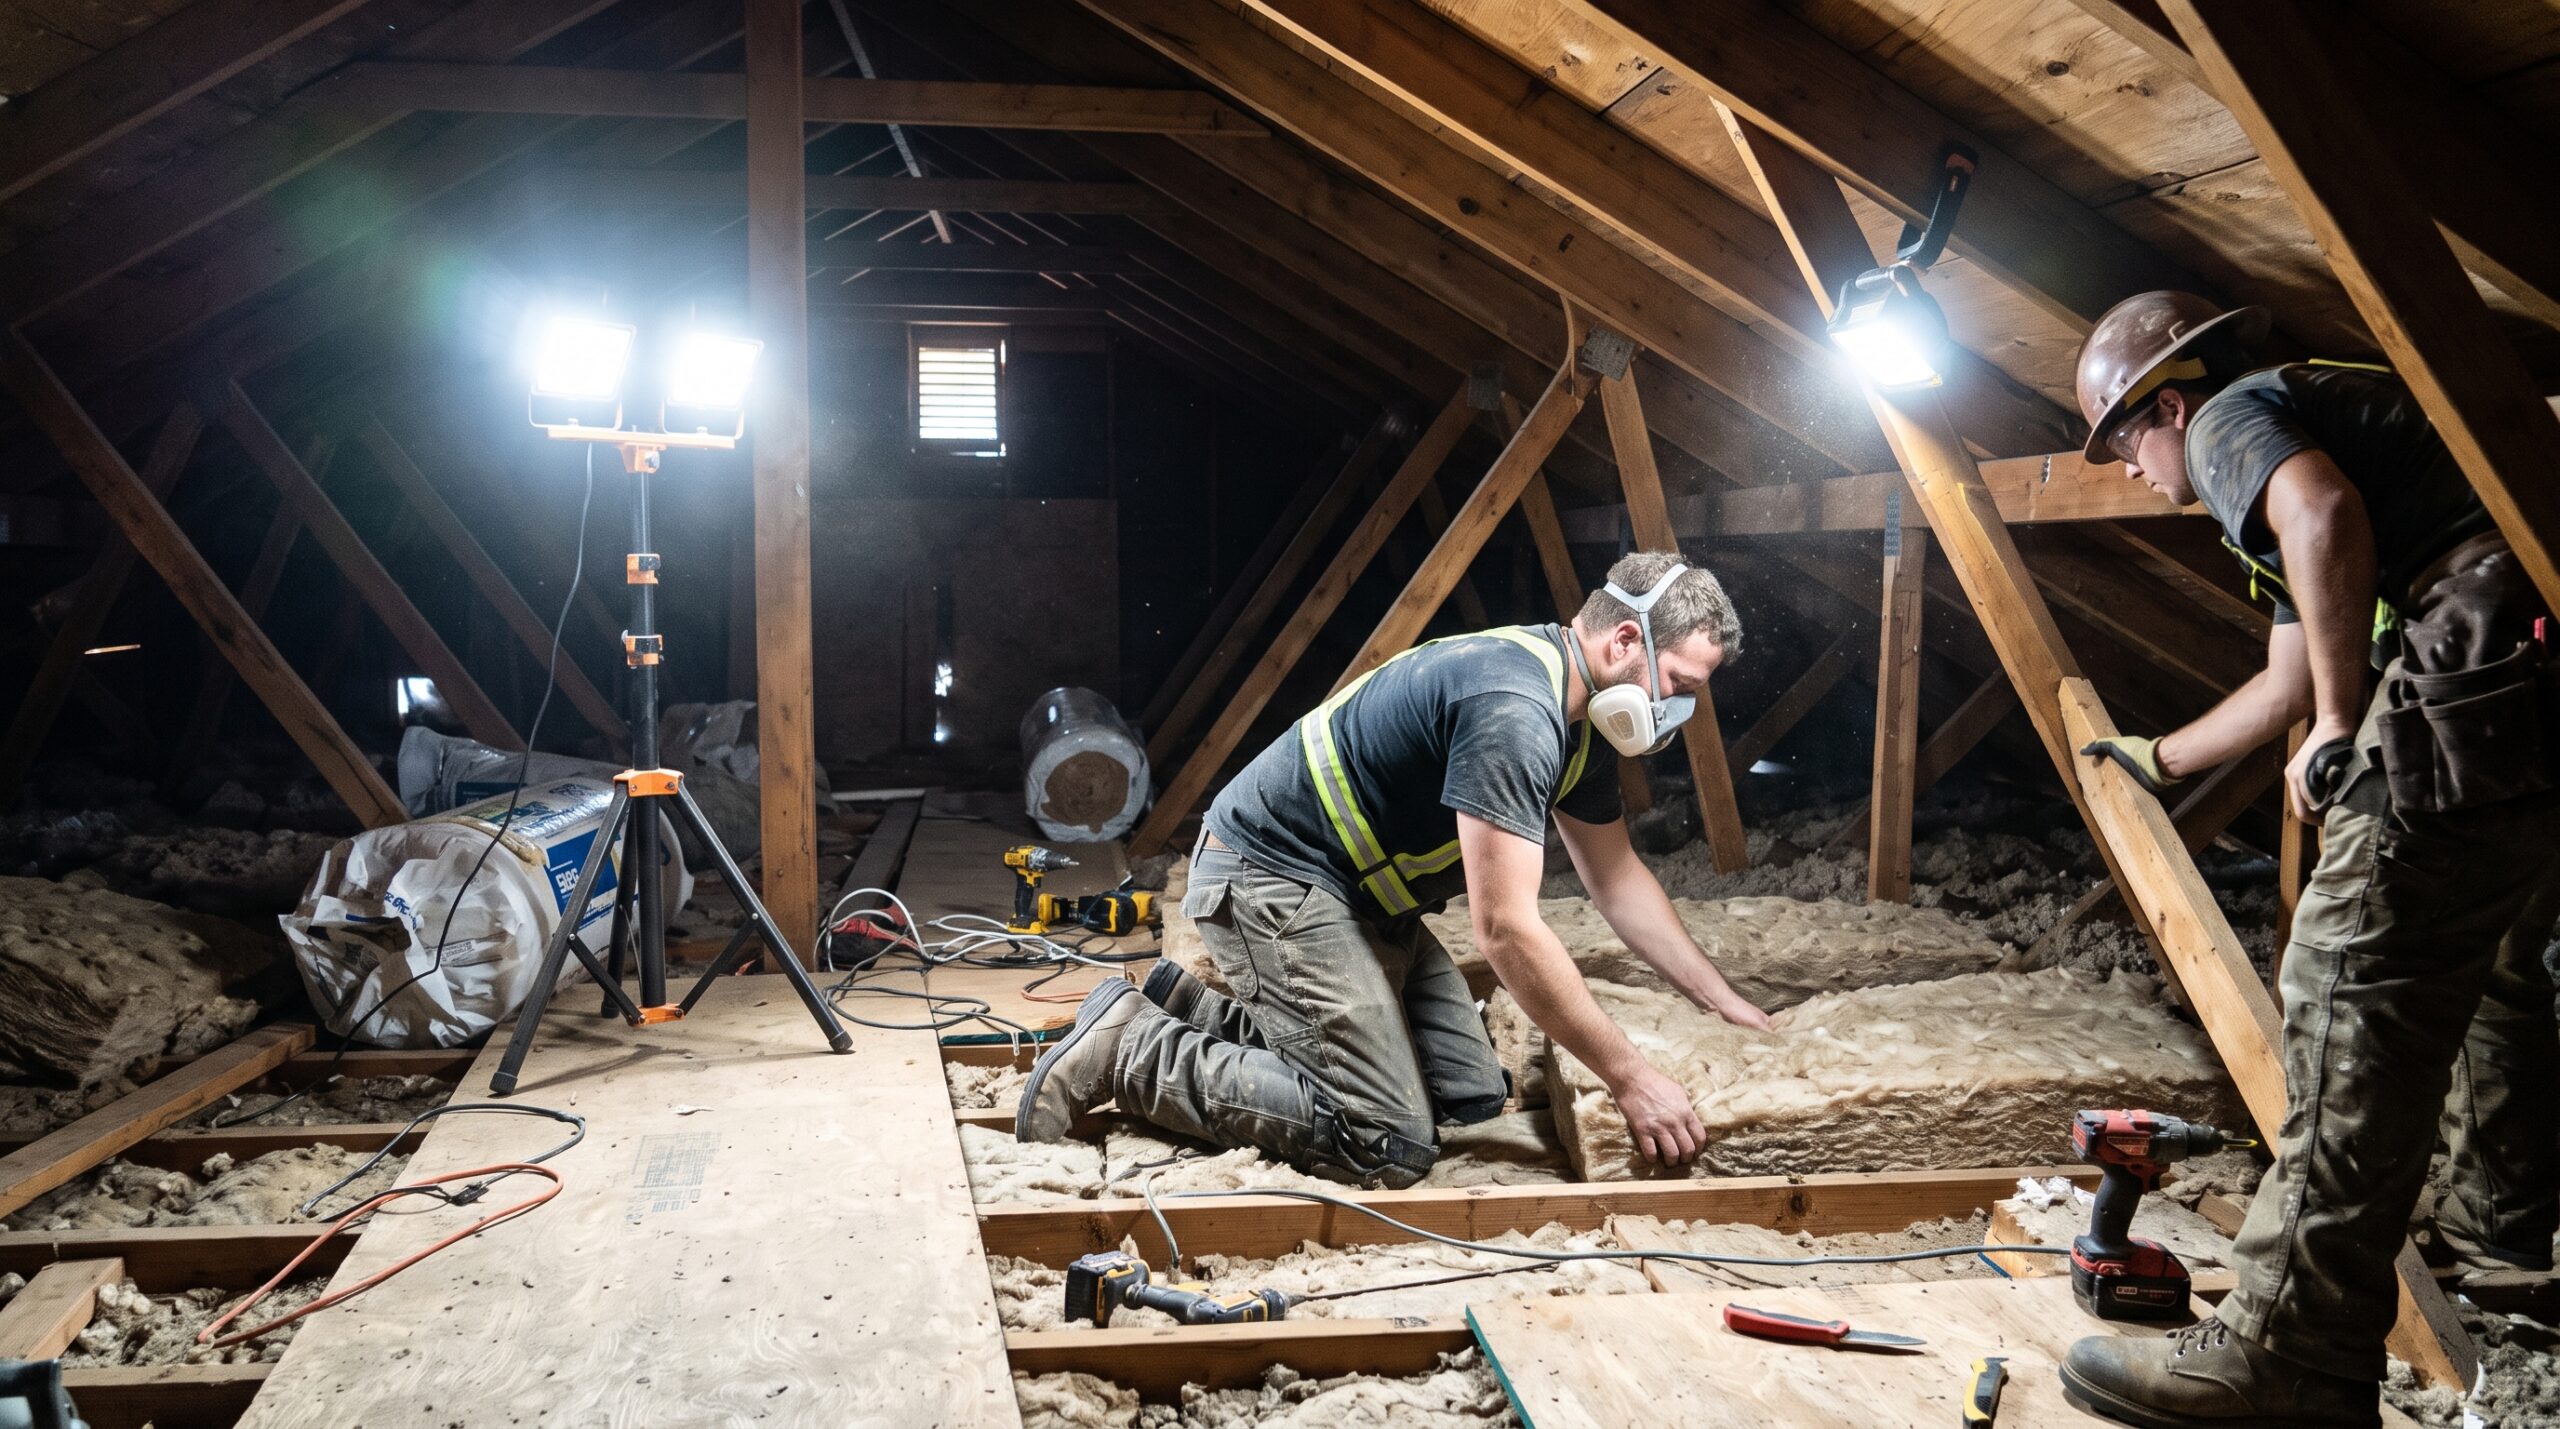
- An area light that stays put. This is the main attic work light, usually a power tool battery work light on our crew’s platform so it shares batteries with the drills and saws. It gets hung from a rafter with a hook or strap, never by its cord, and aimed down into the main working zone. It also lights the route back to the hatch.
- A moveable flood. This is a smaller light, around 1,000 to 2,000 lumens, with a magnetic base or a clamp. It moves with whoever is doing detailed work. Magnets stick to truss plates, ductwork, and flue pipes. Clamps grab a rafter edge. This is the light that kills the shadows the area light misses.
- A headlamp on every head. Nonnegotiable. The headlamp is not for lighting the room. It is for wherever your eyes go, and it is your exit light if a battery dies or something goes wrong. A dead area light in a dark attic with no headlamp is how people fall through ceilings.
If a job has decent power nearby, we sometimes add a corded LED string with caged lamps running along the catwalk path. Those strings are great for long attics in larger homes, but they come with cord management problems I will get to below.
Attic Work Light Tips for Insulation Crews
Insulation work puts different demands on an attic work light than roofing does, and it is worth breaking that down.
Seeing the Leaks Before You Seal Them
Air sealing comes first on any good insulation job, and air sealing is a visual task. The Department of Energy’s Building Science Education guidance says that before insulating existing vented attics, all attic floor penetrations should be sealed with sealant, one part spray foam, or rigid blocking. That means top plates, wire holes, plumbing stacks, chases, and the gap around the flue. You cannot seal what you cannot see. This is where the moveable flood earns its keep, held low and close so it rakes across the top plate and shows every crack.
There is a trick I learned from an energy auditor years ago that only works with good light. A Department of Energy measure guideline notes that dirty insulation suggests air movement because the insulation is acting as a filter. Those dark smudges on old fiberglass point you straight at the leaks. In a poorly lit attic, everything looks gray and you miss them. Under a bright, neutral white light, the stained spots jump out.
Dust and the IP Rating on an Attic Work Light
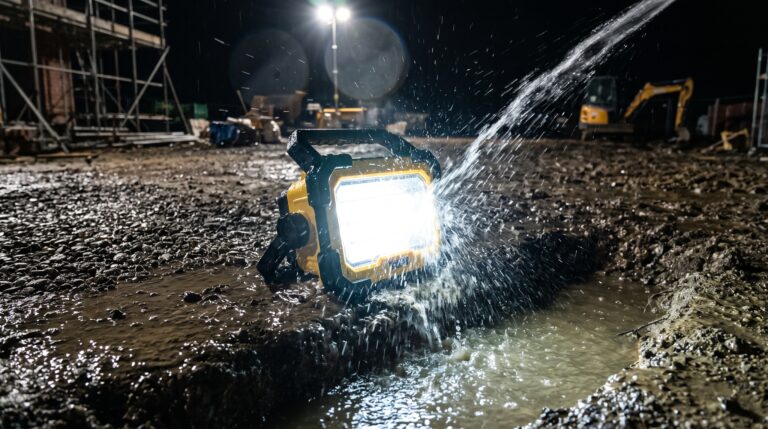
Dust is the other issue for insulation crews. Blown cellulose and fiberglass hang in the air for a long time, and that dust gets into everything. This is where the IP rating on the light matters. IP stands for Ingress Protection, an international standard showing how well a work light is sealed against dust and water, written as two numbers such as IP44 or IP65. The first number is the dust number. For blowing jobs, I want a 5 or 6 there. A light with open vents and an IP rating that is low or missing will pack itself full of insulation dust within a season. Our waterproof work light guide explains both digits in more detail.
Dust also scatters light. A powerful flood aimed straight through a cloud of blowing cellulose just lights up the cloud. Aim it from the side or from behind the hose operator so the beam lands on the work instead of the air.
Keep the Walking Path Lit
Please think about where people step. ENERGY STAR’s attic safety tips tell workers to walk on joists or truss chords rather than on exposed ceiling drywall or insulation. Once the new insulation is down and fluffed, the joists disappear. Lay boards, mark the path, and keep it lit until the last man is down the ladder.
Attic Work Light Tips for Roofing Crews
Roofers go into attics for different reasons than insulation installers, and those reasons call for different light.
Decking Inspection From Below
The biggest one is decking inspection. Before a reroof, and sometimes during tearoff, I want eyes on the underside of the sheathing. Water stains, delamination on old plywood, rot around valleys and penetrations, and mold growth all show up better from below than from above. A wide flood aimed up between the rafters, moved bay by bay, is the fastest way I know to map trouble before we start pulling shingles. It saves arguments with homeowners too, because I can take clear photos of the problem under good light.
Tracing Leaks to the Source
The second reason is leak tracing. Water rarely drips where it enters. It runs along the underside of the deck, follows a rafter, and shows up on a ceiling three feet away. Tracing it back takes a tight, focused beam to follow the stain trail, then a broader light to see the whole area once you find the source. This is where a light with both flood and spot modes pays off.
Checking Your Own Work
The third is quality control. After new decking goes down, someone goes into the attic and looks for nails that missed the rafters. Those shiners can rust, drip condensation, or just look bad to an inspector. A bright light inside, especially on a sunny day with the attic otherwise dark, makes them easy to spot. Same with ridge vent cuts. You want to see that the slot is clean and open, and that nothing is blocking airflow at the soffits.
Lighting During Tearoff
Tearoff creates its own lighting challenge. Debris, granules, and old nails rain down through gaps in the decking. Any light sitting on the attic floor gets buried, and anyone in the attic during tearoff needs eye protection and a light mounted high and out of the fall zone. Honestly, my rule is nobody in the attic during active tearoff above them, but when someone has to be up there, the light goes on a rafter, not on the floor.
Color Temperature: Why My Attic Work Light Is Daylight White
Brightness gets all the attention, but color matters just as much for inspection work. Lights in the 4000K to 5000K range read close to daylight. Warm lights around 3000K look pleasant in a living room but they turn everything in an attic the same yellowish brown. That makes it harder to tell a water stain from old wood tone, or fresh mold from dust.
Color rendering is the other part of this. A light with a high CRI shows colors closer to how they look in sunlight. For roofing inspections, where I am judging whether a stain is old and dry or new and active, that difference matters. Cheap lights with poor color rendering make everything look washed out and flat. If the spec sheet lists CRI, look for 80 or above, and higher is better for inspection work.
Attic Work Light Mistakes I Still See on Jobs
Here are the habits I try to break when new guys join the crew.
Cord and Mounting Mistakes
Running cords across the joists. A cord draped over joists becomes a trip line right where footing is worst. It also pulls insulation around and kicks up dust every time someone tugs on it. If you must run power up there, route it along the catwalk or the side of a rafter and secure it.
Hanging lights by their cords. This is both a rule violation and a practical mistake. The cord strain eventually damages the connection, and a light swinging on a cord moves its beam every time someone bumps it. Use the hook, a strap, a magnet, or a clamp.
Placement and Backup Mistakes
Putting the only light at the hatch. This lights the hatch beautifully and nothing else. It also means anyone working at the far end is looking toward the light, with their own shadow thrown across the work.
Skipping the headlamp. Batteries die. Somebody kicks the area light. A breaker trips. Every person needs their own light on their head.
Leaving lights on insulation. As covered above, it is bad for the light, and in older attics with debris and dust, it is not a habit you want around any heat source.
Bringing up too much gear. Every extra thing in an attic is something to step on. Plan the lights before you climb, send up only what the job needs, and take it all down when you leave.
A Simple Buying Checklist for an Attic Work Light
When I am buying lights for a crew, this is the order I run through.
- Battery platform. If it runs on the batteries your crew already carries for tools, it gets used. If it needs its own charger, it ends up in the truck.
- Mounting options. Hook, magnet, clamp, or a combination. A light you cannot position is half a light.
- Output range. Around 1,000 lumens minimum for a moveable unit, and 3,000 or more for the main area light.
- IP rating. Dust protection first for insulation work, water resistance for leak tracing and damp attics. Look for IP54 at minimum.
- Color temperature and CRI. Daylight range color and good color rendering for inspection work.
- Size and weight. It has to fit through the hatch, and someone has to carry it up a ladder one handed.
- Runtime on medium. Ignore the max runtime claim. Look at real runtime on a usable setting, because that is what you will actually use.
- Toughness. It will get dropped, kicked, and buried in dust. Spend for impact resistance.
Final Thoughts From the Ladder
The attic is the most neglected space on most residential jobs, and the lighting reflects that. Crews will spend thousands on nailers and safety harnesses and then climb into an attic with a phone flashlight. I get it, because I did it for years. But a proper attic work light setup is one of the cheapest upgrades a roofing or insulation crew can make, and it pays back in fewer callbacks, fewer ceiling repairs, better inspections, and less time spent in brutal heat.
Light the zone, light the path, put a lamp on every head, and treat the attic like the real job site it is. Your crew, your customers, and your drywall repair budget will all thank you.
Frequently Asked Questions
How many lumens does an attic work light need?
For one person doing focused work, a portable light of at least 1,000 lumens plus a 300 lumen headlamp is a sensible minimum, as noted in this HVAC jobsite lighting guide. Crews working a full attic should plan on 3,000 to 5,000 lumens in the main zone, split between two or more positions.
Is there an OSHA rule for how bright an attic job must be?
OSHA’s construction standard sets 5 foot candles for general construction areas under 29 CFR 1926.56. That standard was proposed for rescission in 2025, as explained in this overview of OSHA lighting requirements, so confirm its current status.
Can I hang a work light by its cord in the attic?
No. Temporary lights should not be suspended by their electric cords and need guards against accidental contact, per this OSHAcademy lighting requirements summary.
What IP rating should an attic work light have?
For dusty insulation work, look for a high first digit, such as IP5x or IP6x. For damp attics, IP54 or better. This work light specification guide explains how the two numbers work.
Why does good lighting matter for heat safety in attics?
Bright light speeds up work so the crew spends less time in the heat, and it lets partners spot signs of heat illness in each other. See the NIOSH heat stress recommendations for buddy system and acclimatization guidance.
How does lighting help insulation crews find air leaks?
Under bright, neutral light, dirty or stained insulation shows where air has been moving, which points straight to leaks. The DOE attic air sealing measure guideline covers this in detail.
References
- OSHA Standard 1926.56: Illumination
- OSHA Interpretation Letter on Measuring Foot Candles (1991)
- J. J. Keller: Clarification of Temporary vs. Portable Lighting
- OSHAcademy: Lighting Hazards and Requirements
- 1000Bulbs: OSHA Lighting Requirements for Workplaces
- Electrical Contractor Magazine: Lighting and Illumination in the Workplace
- CBS News Pittsburgh: How Roofing Crews Stay Safe During a Heat Wave
- NIOSH: Heat Stress Workplace Recommendations
- U.S. Department of Energy: Air Sealing Existing Attics
- U.S. Department of Energy: Measure Guideline for Air Sealing Attics
- ENERGY STAR: Tips for Working in the Attic
- Rapid: Lumens, IP Ratings and Kelvin Guide
- HVAC Pro Sales: Professional Jobsite Lighting and Work Lights